Tuesday 9 November 2021

Building the Airfix 72nd Swordfish with NO filler ! - finished


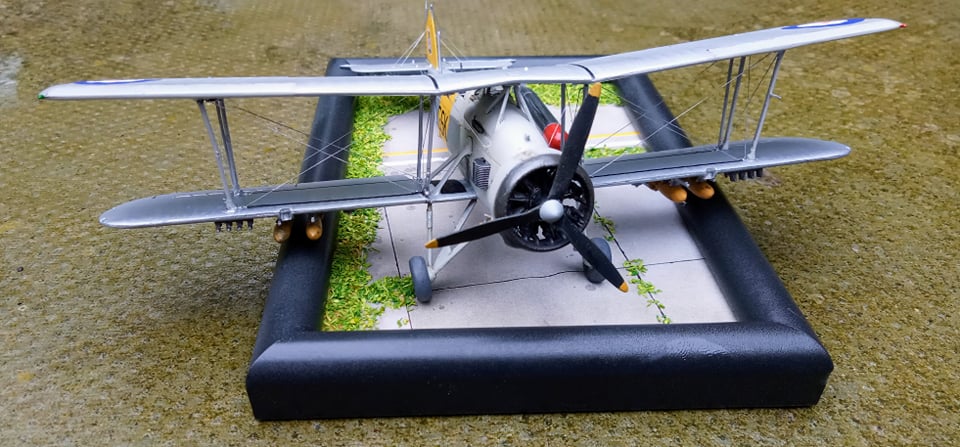
"some modelling skills required.."    This kit is not an especially difficult build but it does require care and patience - in fact it is a kit that once finished you can take a certain amount of pride in. I think it looks every inch a Swordfish and its pretty nicely detailed too. But I also know better modellers than me that have not managed to complete it - a bit tricky, too fiddly, impossibly large sprue gates making removal of the smallest parts rather awkward and short-shot struts for the wing centre section around which the entire wing assembly hinges. Plus not reading stage 44 of the instructions correctly - gear leg assembly!  Probably not a good idea either to do what I did and start rigging before having completed the assembly - tends to pull the wings out of alignment. And careful not to apply too much pressure on the wings during assembly otherwise you'll snap the struts!


..and for anyone trying to research colours for a 'Channel Dash' Swordfish, well, no one knows for sure, as there are no known photos. The Airfix box artwork features a machine finished in black distemper. All the photos I've ever seen show the distemper applied only to the undersurfaces of the Swordfish and Sky-Grey areas of the fuselage (or in this case Sky as they were Blackburn built). Note that nearly all profiles and kit artwork get the depiction of the codes wrong on both 825 Bismarck and 825 Channel Dash Swordfish. Codes were carried on the fin 1941-1942, not on the fuselage. The colour of the single letter codes was either black or dark red (it's not possible to be certain on the basis of available photos). The colour scheme as featured on the Xtradecal sheet is there or thereabouts, more or less...


Wednesday 3 November 2021

Building ( & rigging) the Airfix Swordfish in 72nd scale (3)


..several disasters along the way - including snapping the outboard struts when cementing the wings as I squeezed them together. At that point the model nearly ended up in the bin. Too distraught to take a pic. But with a touch of super glue, repairs were quickly made. And so the Swordfish is nearly finished. 

Rigging!

I'm gradually getting the hang of this in 72nd scale - my third rigged biplane on this blog (in 11 years of posting) so I'm now feeling confident enough to provide a quick guide;

- drill locating holes with pin drill or similar in the wings/cowl/tailplane pre-assembly

- using a pin (drill) or similar apply viscous super glue to the hole and using pointed tweezers hold a length of nylon thread until the glue 'grabs' it.  Apply 'accelerator' with a thin brush to the area to speed up this part of the process. Ideally the model should be held in a clamp or similar, but I've always managed without one of these.

- if there's one tip to pass on here, it is always glue 'down'  - inverting the model for the top wings, or better, 'rigging' the lower half of the top wing during construction. The thread then hangs down towards the lower wing, so you are not competing with 'gravity' when glueing. Similarly, don't cut the thread too short - too much 'tension' and the thread won't grip as easily of course....


Tuesday 2 November 2021

Building the Airfix Swordfish in 72nd scale with NO filler - build review (2)


Moving quickly along. The characteristic large bracing struts have gone in and the fit here is very good, they just click into place. The cowling assembles easily enough too and the engine fits neatly inside it and pushes into the front of the fuselage. 

But just when you think the build is going swimmingly you hit the landing gear struts. The pins on these appear not to fit all the way into the locating holes in the wing stubs. This may be intentional as they represent the undercarriage bars which are covered in a fairing, the fairing is not flush with the fuselage and the round bars are visible. Also at first sight they appear to be the only support for the lower wings so getting this bit right is going to be important. Note too that the frame part of the inner struts locates into the wing stub parts - when and if you've drilled/cut out the slot! 


Here I've drilled out those locating holes and inserted the leg strut which locates very poorly into the twin strut supporting the wheel and left everything to dry. 

Things are starting to go awry! I know I've located the strut incorrectly because I can no longer fit the inner strut frame into the wing stub! I tried to pull it out - but of course I'd used superglue. In the end I've cut through the bottom of the strut frame. And probably got a better supporting join for the lower wing outer section. Here's hoping!


As for the rigging, Airfix give no information which is a shame. A kind soul over on the BM  forum posted the rigging diagram provided by SBS in their etch rigging set - or some of it at least. Could be useful..