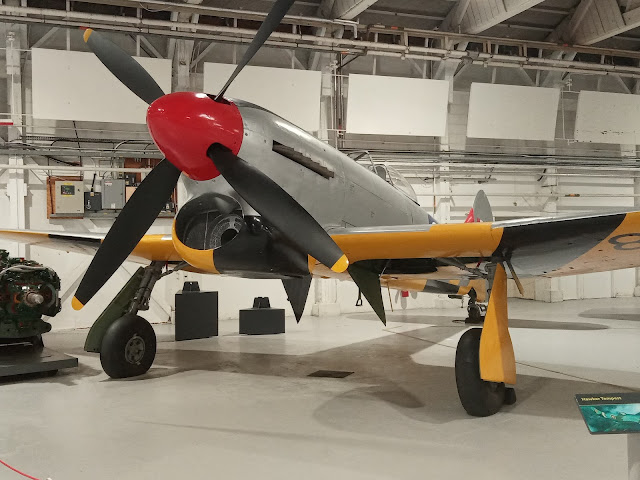
Post-war TT 5 (target tug) version of the Tempest as seen at the RAF museum last weekend.
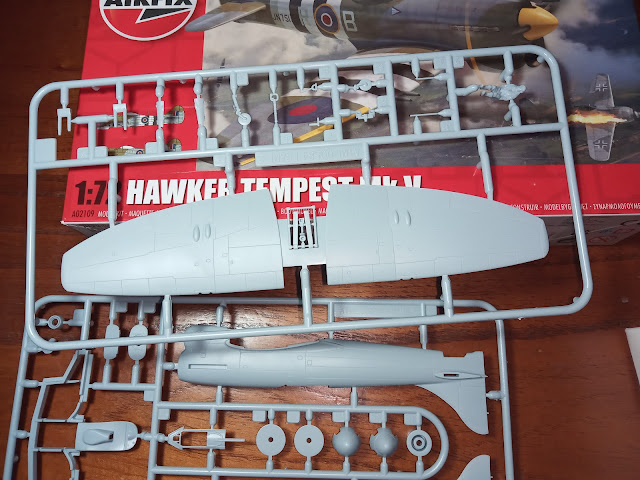
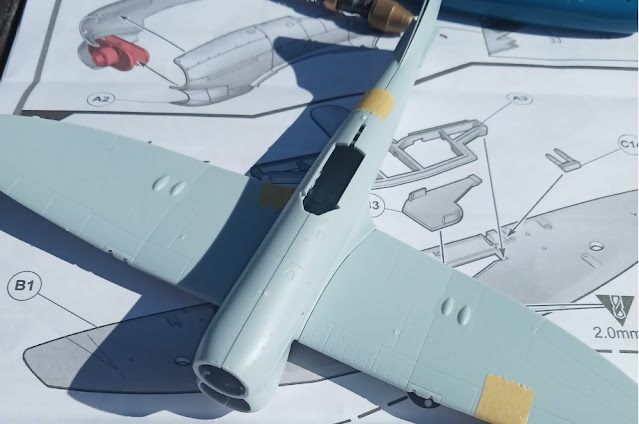
My first Airfix new-tool Tempest V just arrived. Small box for a lot of money! But I guess that's the way things are going now though. The new Airfix Tempest retails from £13 to £15 (GBP) - the days of £6 to £9.99 for a small 72nd fighter seem to be long gone. Arma (new P-51) and IBG (Dora) kits justify their prices with a lot in the box - including etch and masks in the 'Expert' sets. What's in the Tempest box?
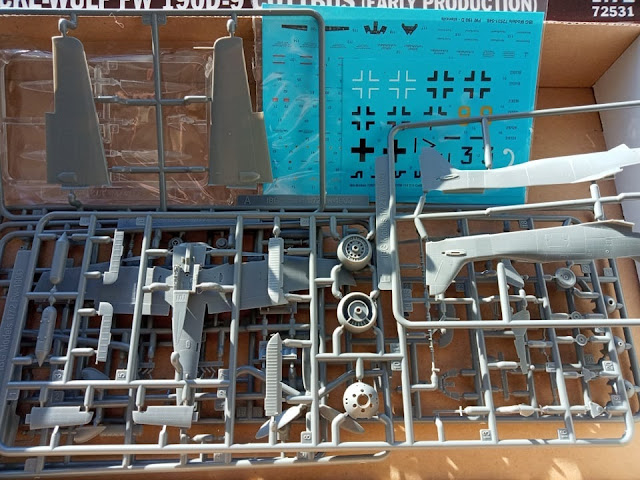
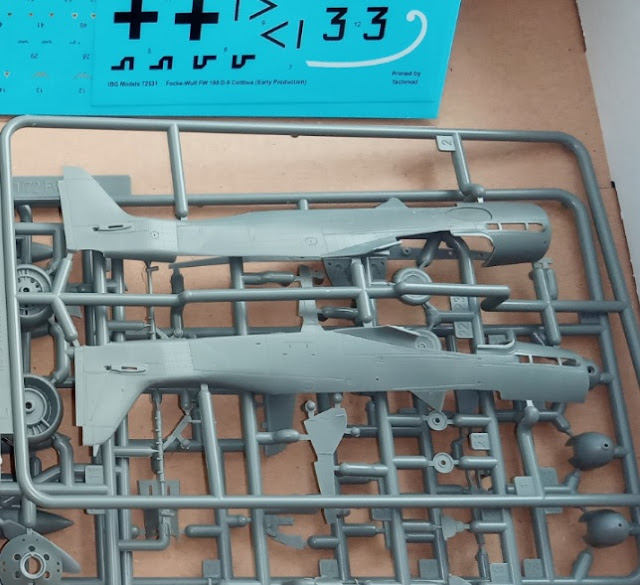
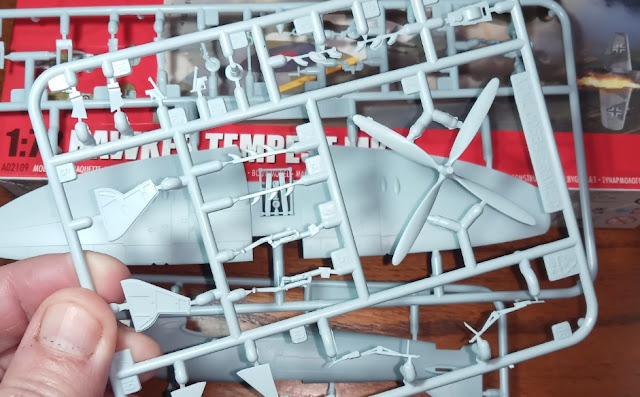
The contents comprise some four sprues, good plastic and some 'innovations';
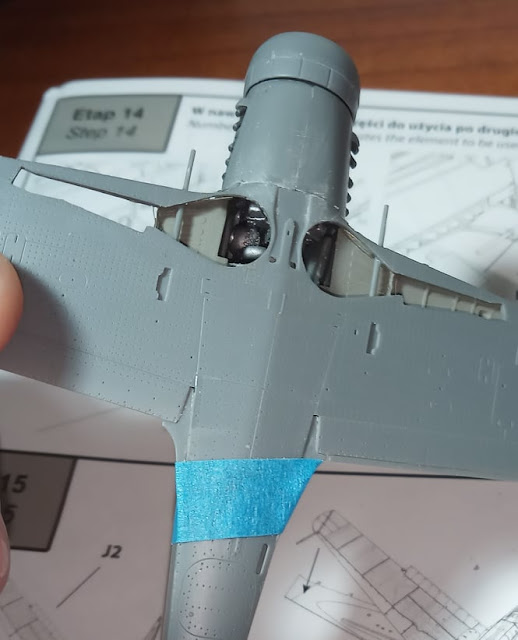
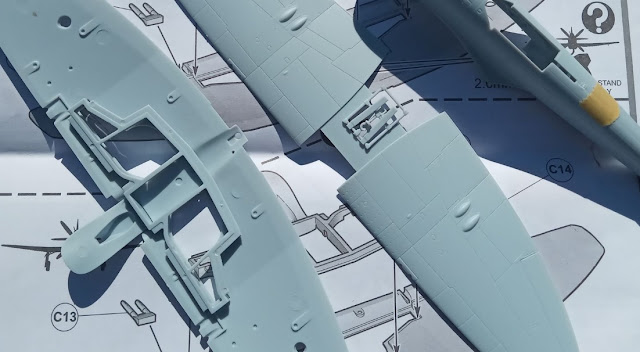
- cockpit floor detailing molded as part of the upper wing
- cockpit sidewall detail
- two spinners
- top and lower wings (as opposed to four wing parts)
- engine exhaust ejector stubs come in two parts for each side
- underwing tanks are transparent and on the clear sprue (there was a clear 'cut-out' on the real thing)
- some 'flash' on some of the parts - no big deal but how does that happen ?
- two sets of wheels - four and five spoked. The five-spoke wheels appear to have over-sized inner hubs. A set of Typhoon wheels could be a better option
The following notes were compiled by Paul Bradley based on Chris Thomas' research which can be found on BM.
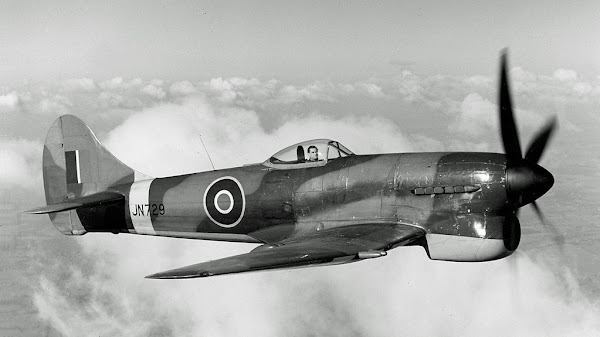
The Tempest V came in two basic 'versions' – Series 1, which is generally reckoned to be the first 100 or so airframes (JN729-773, JN792-822, JN854-877), and Series 2 that encompassed the remaining production of the type. However, within those two basic configurations there were some subtle differences that make it a difficult task to pin down the exact specs of a specific airframe at a specific time. Without going into great detail, here’s a quick summary of the features:
Long-barrelled cannon – Denoting the use of the Hispano Mk.II 20mm cannon, at least the first 39 Tempest Vs, up to JN767, had cannon fairings protruding from the wing leading edge.
Wing root blister – The first 50 Tempests, up to JN796, used Typhoon centre-sections. As the Tempest wing was thinner at the root, part of the steel tubing that made up this structure had to be covered by a small blister.
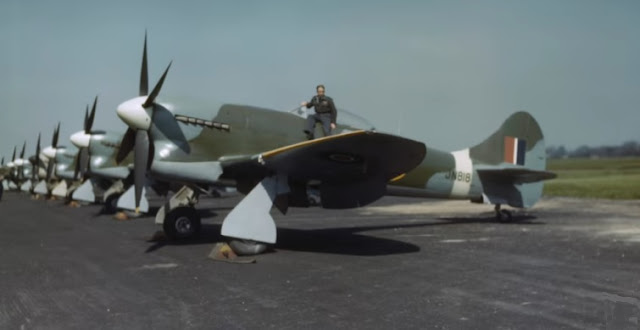
Below; first production Tempest V, showing all the salient features of a Series 1 Mk.V, test pilot Bill Humble at the controls. (Kate Humble's grandfather.)

Fishplates – These small structural strengtheners were found up to at least the 85th airframe, JN862.
Cuckoo door dust filters – Not required for Series 1 aircraft.
Main wheels – Early Tempests had Typhoon main wheel hubs with 5 spokes and Dunlop EX 11.25-12 tyres. Sometime in the JN-series, this changed to a new 4-spoke design, but the exact cut off is not known.
Under wing stores – long-range tank capability was not fitted until JN797, bomb carriage from 151st airframe and rocket projectiles from the 251st airframe.
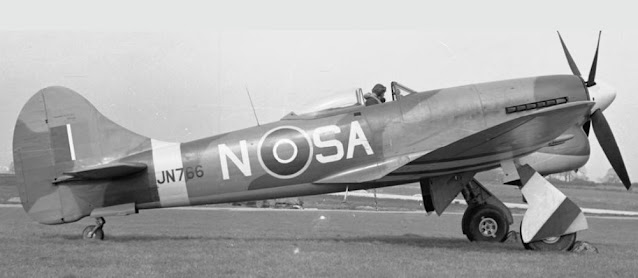
Below; port side view of JN 766 of 486 Sqd alongside one of the unit's Typhoons - one of the options on the kit decal sheet
(IWM photo used under terms of their non-commercial website licence...)
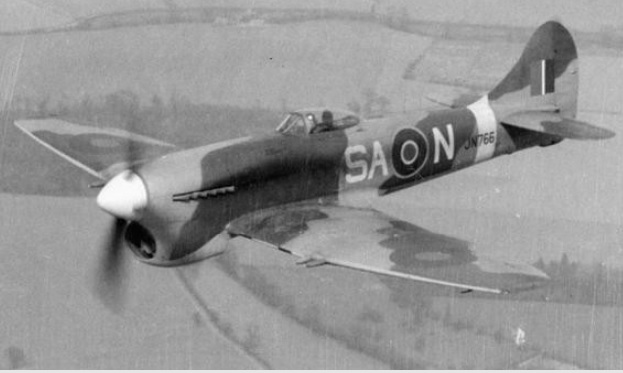

THE ROYAL NEW ZEALAND AIR FORCE IN BRITAIN, 1944 © IWM (CH 13977)
Also on this blog;
Clostermann's Tempests - Hawker Tempest Mk V (Academy 1/72) - Clostermann's JF - E (only SN 222 carried the inscription 'Le Grand Charles') here